
Add Your NVR to DMSS on Android or Apple
This guide will walk you through adding your Precision Cam NVR to the DMSS app on your Android or Apple device.
Getting the NVR Software Serial Number
You will need the software serial number of your NVR in order to add it to DMSS. It is documented on the datasheet that came with your system. You can access the serial number by going to the Main Menu on your NVR, selecting the Network option at the bottom, then the P2P/Easy4IP option along the left.
Installing the DMSS Application
DMSS is the app we recommend for our systems. You may have an older version on your device, such as iDMSS or gDMSS. Those apps may still work, but are no longer being supported. You can download DMSS through the Play Store or App Store. This tutorial was done on an Android device. The steps will be similar on an Apple device, though it may ask for different permissions at different times.


App Permissions
When first opening the app and when using certain features later, it may request certain permissions. To save video or snapshots from your NVR, the app needs photo and media permissions. To view video while using cellular data, the app needs data permissions.


Introduction Slides
Swipe through the brief introduction images.


Region Selection
Set the region for your app. It will recommend the proper region.


Sign Up
Sign up using your personal email/phone number and password. You will receive a verification code from DoLynk. Check the spam folder if you cannot find it in your main inbox. The app will give hints upon launching it for the first time as you navigate through the interface. Tap anywhere on the screen to exit. Account security enhancement is optional. Each mobile devices must use a separate account.


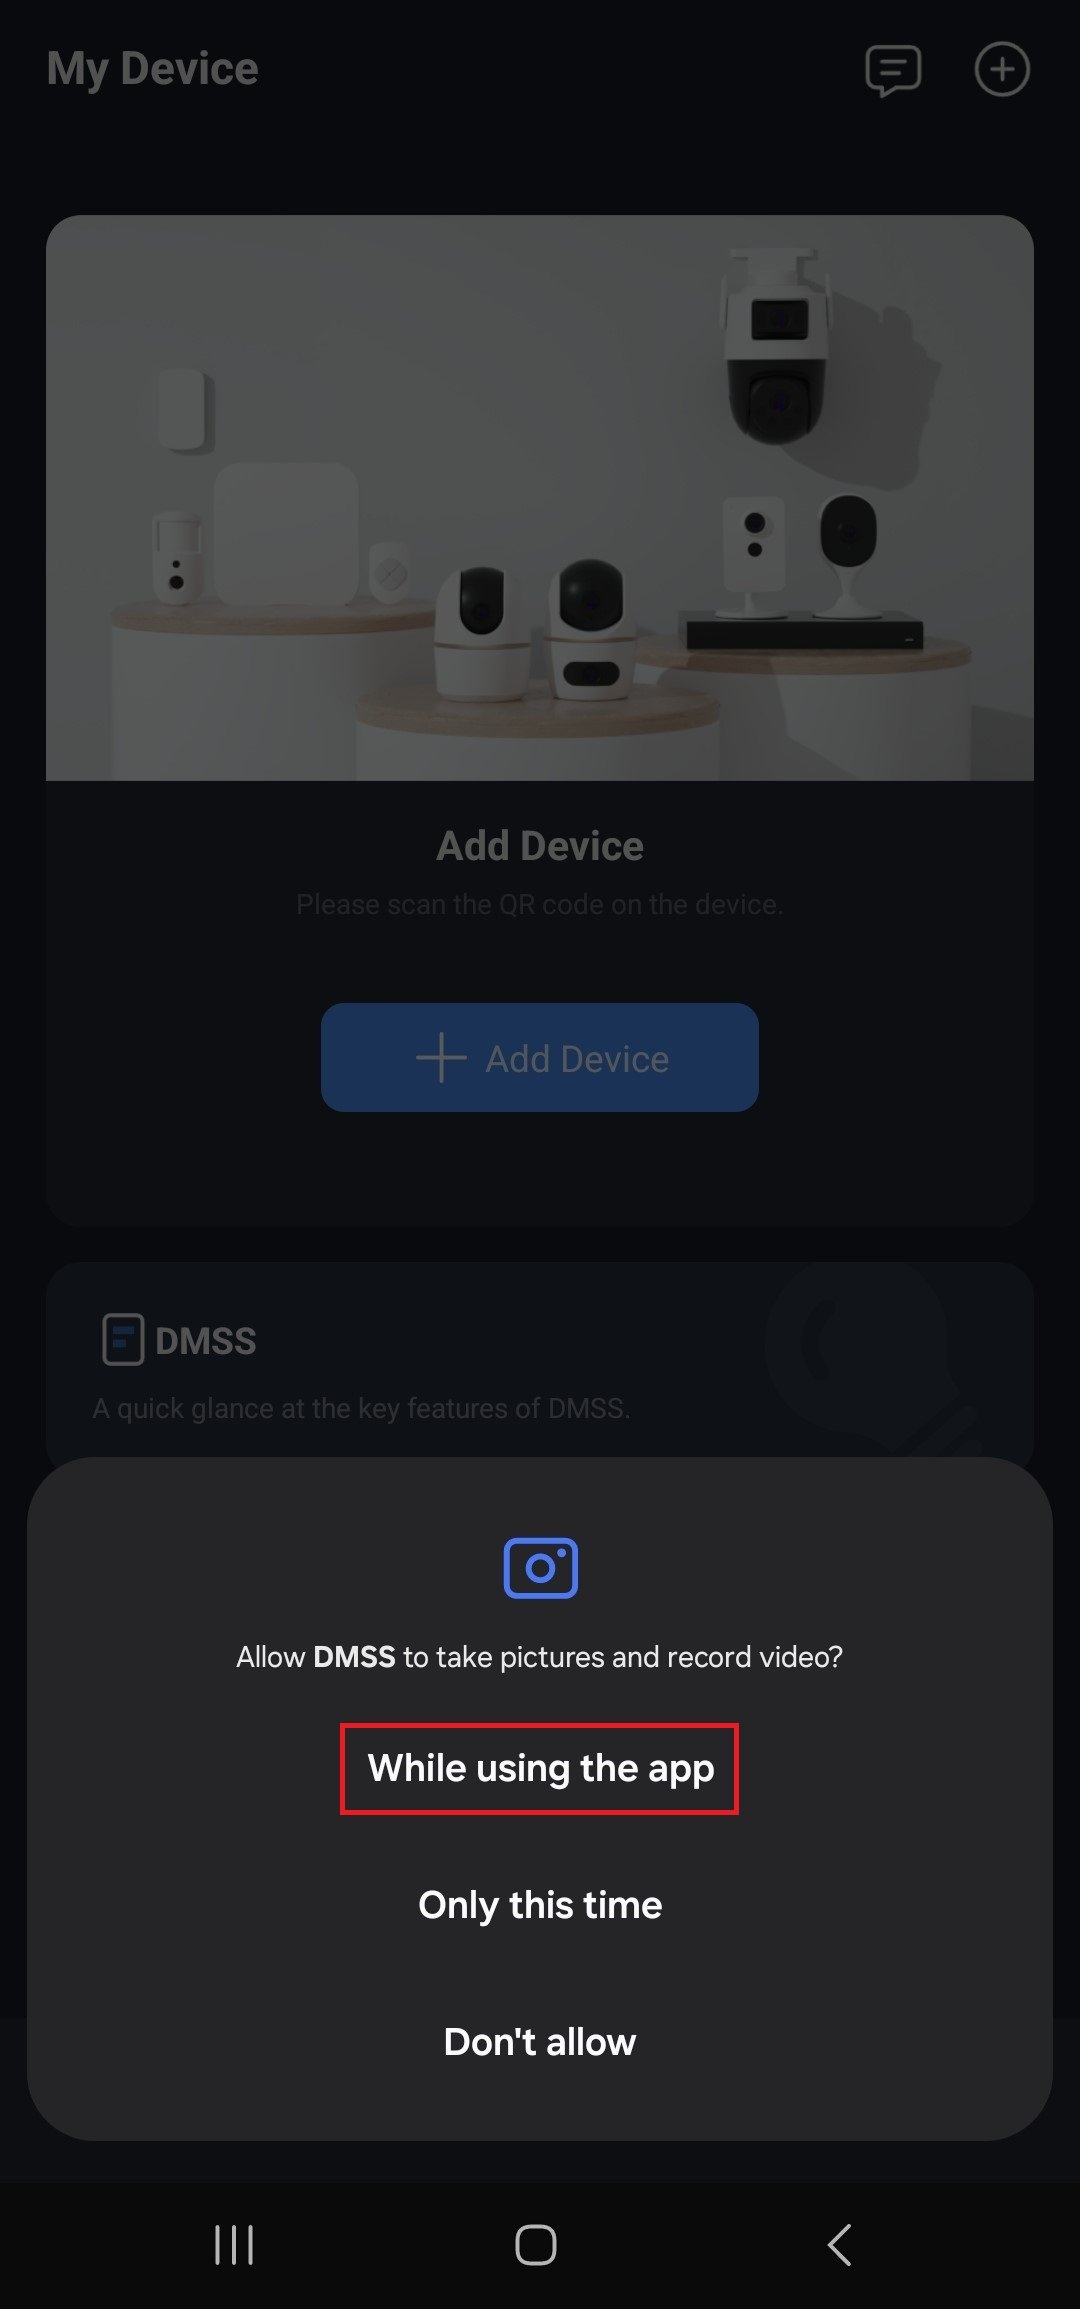
Methods to Add the NVR
To add your NVR, tap on Add Device. The app needs camera permissions. Press OK and While Using the App.


Entering the NVR Serial Number
Option 1: Scan the QR code. On the NVR, press right-click then Main Menu. Go to Network then P2P. Scan the QR code on the right under Device SN.
Option 2: Manually Enter SN. Type the software serial number under the Device SN line. Leave the security code blank and tap next.
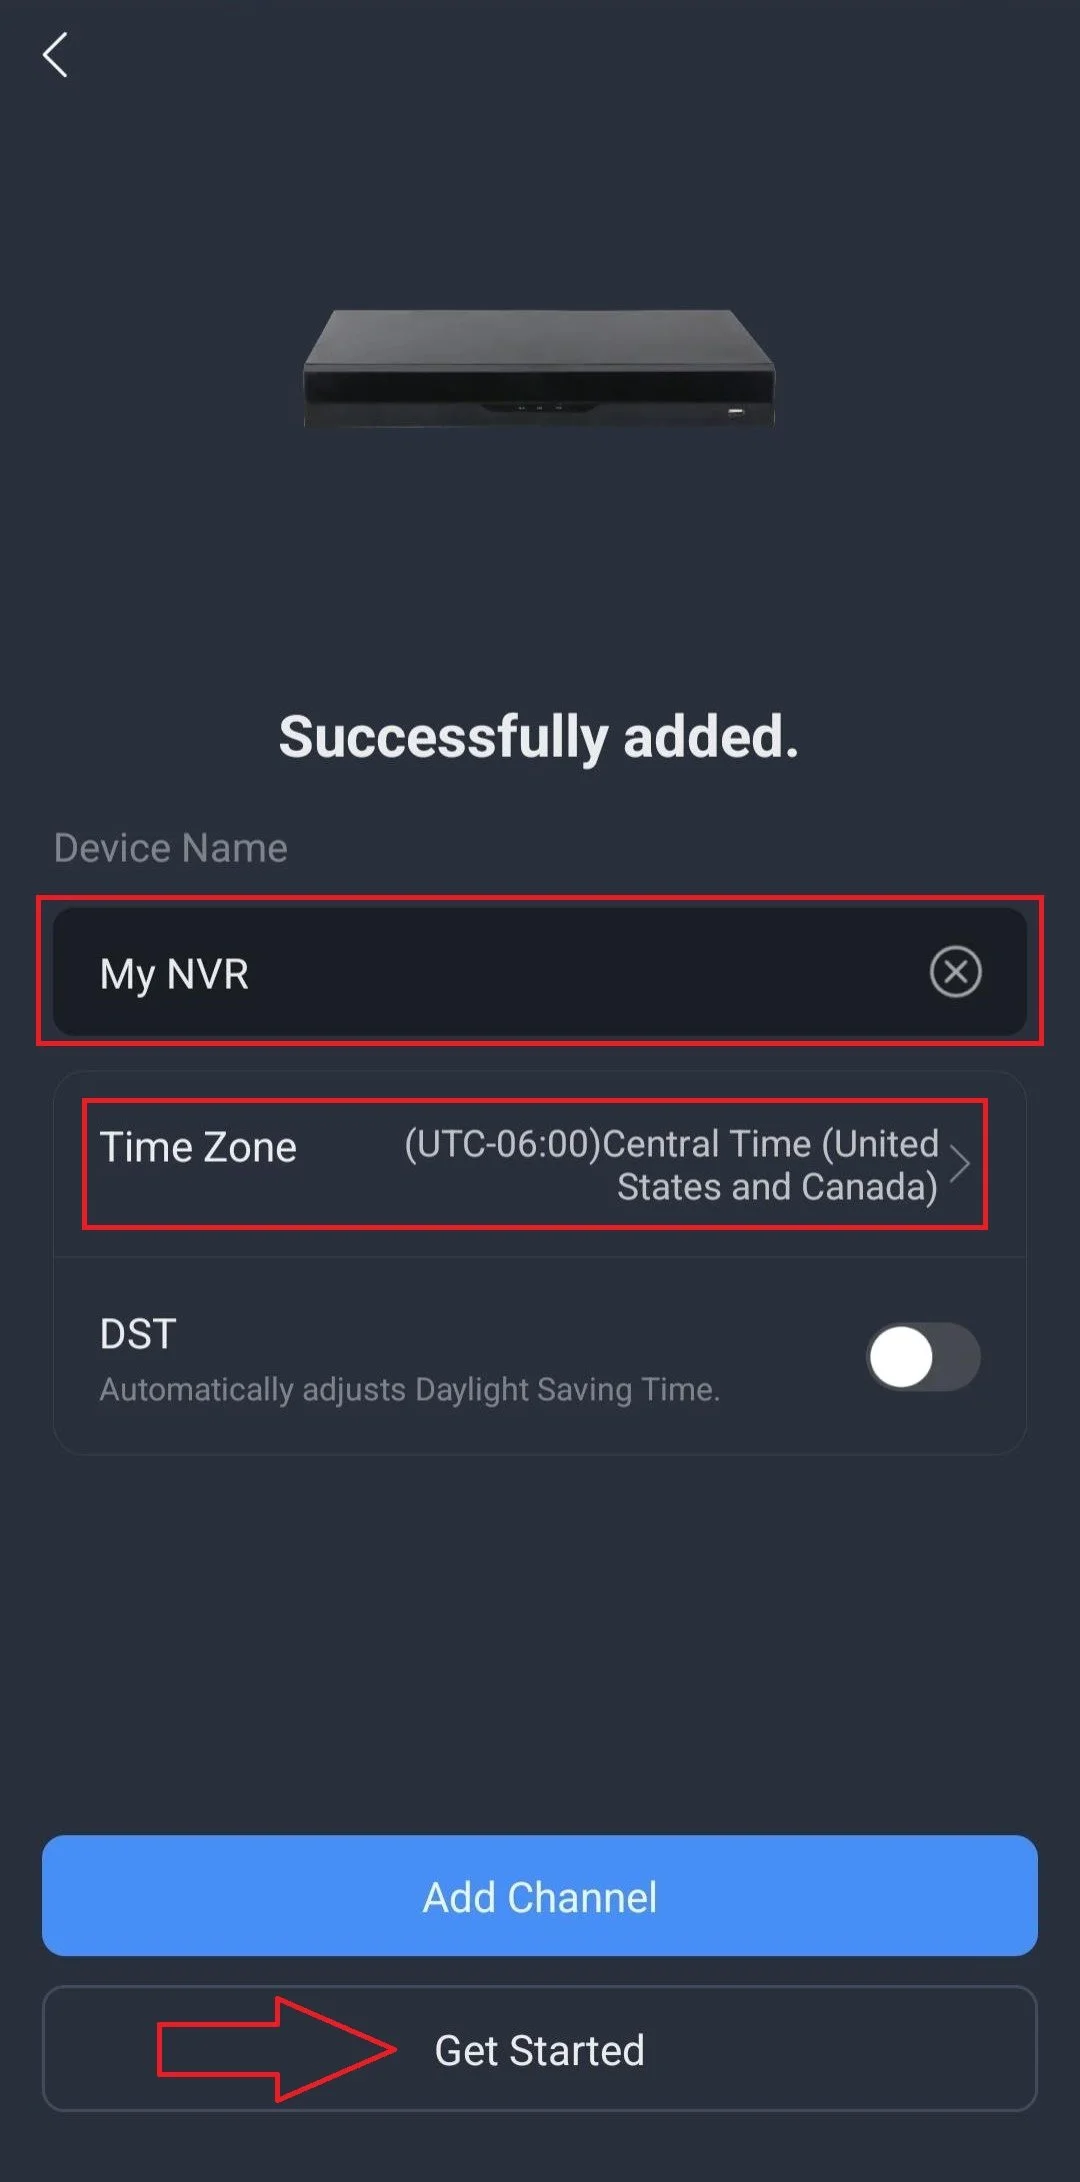
A new password is provided in the datasheet due to a security update. Enter that password on the Security Verification line. Put any name you want under Device Name and enter your Time Zone then press Get Started.

Adding Your NVR to Another Device
Go to Me > Service > Share Devices. Select the NVR then click Next. Enter the email address or phone number of the user you’re trying to share your cameras with.


